Saturday, August 15, 2015

Battle of Zweifelder: Cavalry Charge! (with Charge!)!

The battle continues. A more comprehensive write up of the entire affair will be posted once the matter has been decided.

Today, though, I present an illustrated discussion of a rather singular heavy cavalry melee that took place not two hours ago.

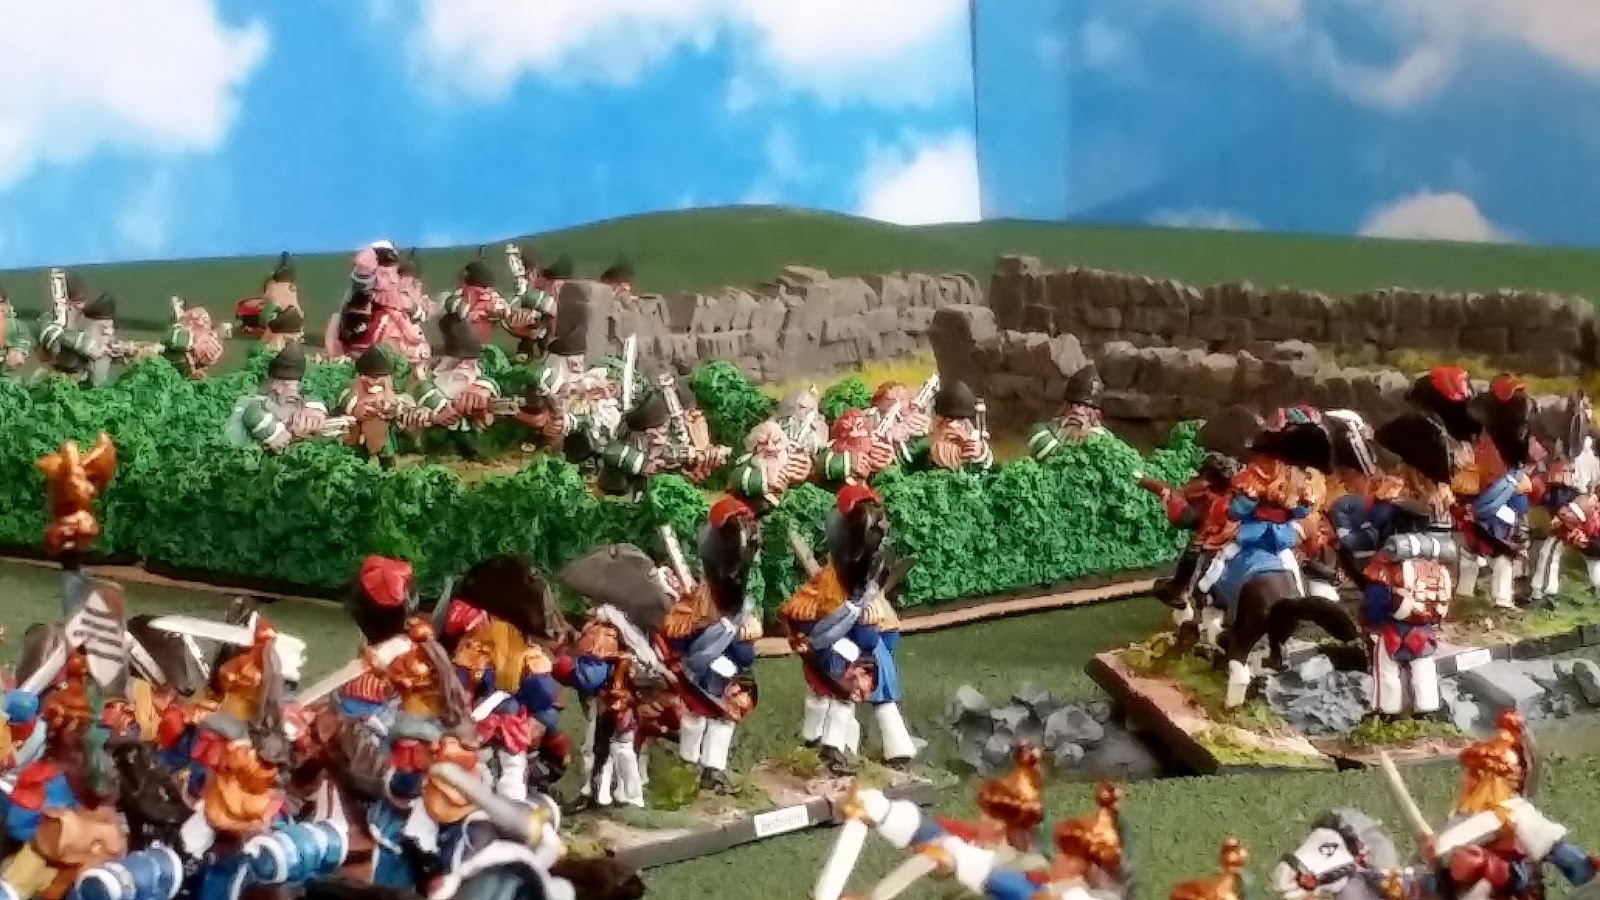
The general situation:


Turn Five: With Elven line infantry pushing back my lights on my left (upper middle in the photo), and elven lights harassing IR Zwregtuefel on my right (in the wood, lower left) I ordered the Bayrum and Anthill Dragoons to charge the elven heavy cavalry. In this they would be supported by the Hussars of FreiKorps Rote Bart.


In "Charge!", even if successful, units must rally after a melee. Hit them while they are rallying and they suffer a combat disadvantage of -1 to their dice rolls. Combats are won by rolling at least 2 more on a six sided dice than your opponent.

Should a heavy cavalry figure find itself in melee against a light cavalry figure, the heavy gets to add 25% to his dice throw. It was this advantage that allowed the Anthill and Bayrums to overthrow the Hussars de Juene early in the game.

My hope was, or more properly still is, that win or lose the heavy cavalry melee, my Hussars will be well placed to hit the Cuirassiers as they rally afterward, giving them both the -1 penalty, along with presumably now being outnumbered by my fresh regiment.

Such is the plan in any event.
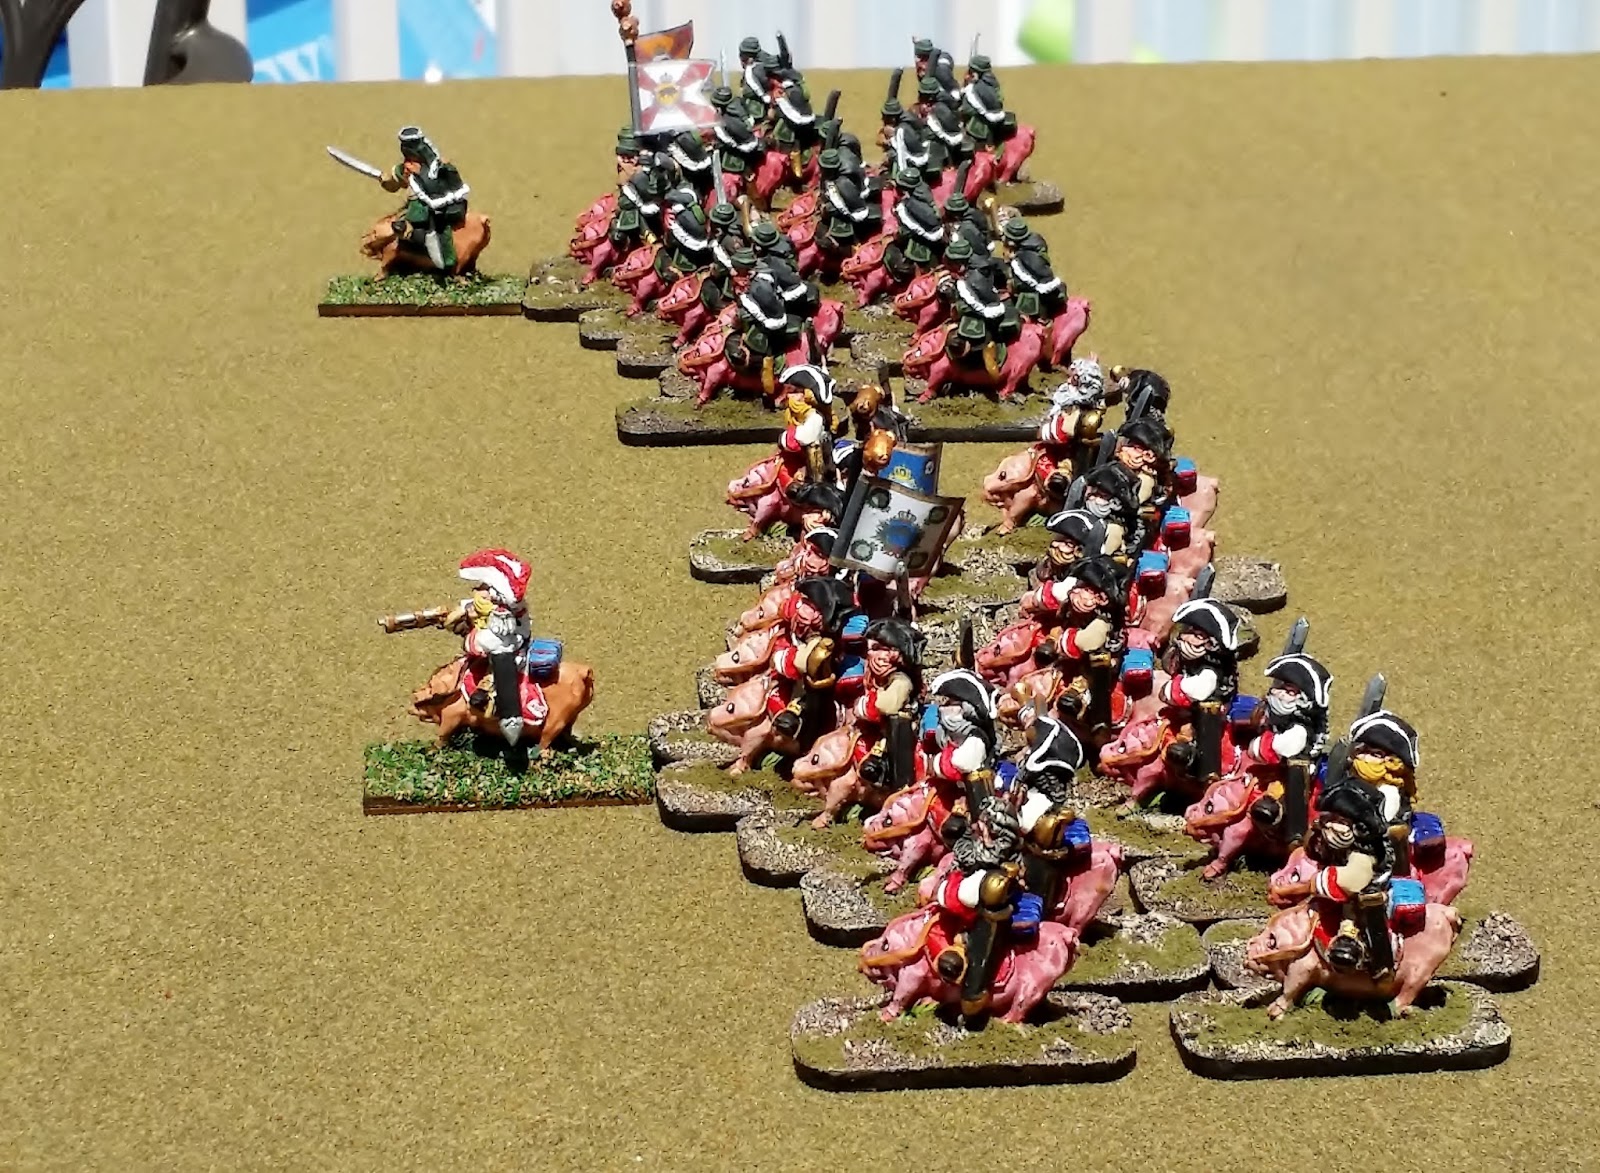


The First Clash:

Naturally the elves were not to be caught standing still and the first clash took place astride the road.

I had Margraf Frederick deploy two squadrons forward with one held back for a second round of melee should it develop.

The Cuirassiers countered with two squadrons forward and two in reserve.
It is worth mentioning here that although the forces were numerically similar, I had organized the A&B's in three squadrons of  6 OR's and one Officer. Two OR's had been lost against the de Juenes, and one was still minding the prisoners taken in that engagement. A total of 19 sabres present now all told.

The Cuirassiers were organized in four squadrons, each of four OR's and an Officer. Their Colonel was in addition to this giving them 21 sabres for the engagement.


Surprisingly, despite the equal odds or near as, my dwarves gave better than they got in the first turn dropping six elves for three of their own lost.


This would have provided the necessary 2 to 3 loss rate needed to claim victory, but it was not to be.


You see, in "Charge!" one must dice in order to see if a melee continues for a second turn, or is over in one.

Fate decreed the fight would go on.


The second round is always a bit more chaotic than the first what with holes having developed in both lines during the first turn.

In the second turn each side found a number of opportunity to gang up, 2 versus 1, at various points. 

In Charge! the side pitting 2 vs. 1 gets to double it dice score, thus markedly improving its chance of winning.


In most cases the 2v1 fights were forgone conclusions. 

However Hauptman Muller, carrying the regimental standard , distinguished himself by fighting off two Cuirassiers, and killing one of them! 

Margraf Frederick was un-pigged and disappeared under a storm of hooves and dust.


When it was all over I had lost four more dwarves for four elves.
All told that was seven of mine to 10 of theirs.

The elves had snatched a draw from the jaws of defeat. 

As mentioned in a previous post, in order to better reflect the differences in fantasy races I have instituted saving throws, otherwise absent from Charge!

Dwarves save on a 5 or 6, and elves on a 6 only.

Rolling the saves two elves were recovered.

Of my seven the only recovered was Margraf Frederick!! Spotted by a trooper and given a riderless pig (or so I like to imagine).

Very dynamic melee and a good deal of fun to boot.

I do hope you enjoyed this little peek into the meat of "Charge!"

Future posts will finish the battle report (when the battle finishes naturally enough), as well as take a little look at the process of photographing and recording games in general, using this game in particular.

Till then....

Thanks for stopping by!

Wednesday, August 12, 2015

The Battle of Zweifelder: Humbugged!

UPDATE:


I've been humbugged!

The second elven line regiment has appeared on my left. A strong column of infantry and guns are now advancing. The only unit directly opposing them at the moment is battalion of Freikorps jaegers.


Even worse it is no apparent that the elves had no intention of storming the fields. Rather they have set up a double envelopment. Infantry and guns on me left, and heavy cavalry screened by light infantry on me right.


Fortunately my guns have come up and just in the right place, although they face some danger of being overrun.


My second infantry regiment should be appear up the main road soon and so be thrust right in the thick of things.

As can be seen my other infantry regiment is on my far left and well out of the fight due to their fairly slow movement rate. Once those troublesome Tirailleurs get into that wood the Zwergteufels will be in for it.

Perhaps a grand charge against the elven cuirassiers is in order in an effort to buy time?

Monday, August 10, 2015

Invasion! The Battle of Zweifelder

As far back as any in der Wuetend-Zwergenkoenighreich can recall, Spring always brought with it raids across the border with das Elfenreich. There was a brief respite when the der Elfenkoenich was deposed.

"Too busy fighting amongst themselves" was the popular belief.

Now that the Ogre had declared himself "Kaiser", Elfen forces have come in force. Not to raid, but to conquer. 


This is the setting for a game using "Charge! or How to Play Wargames" by Brig. Peter Young and Col. J. P. Lawford.

I've made some adjustments to taste. Light infantry fire follows the procedure from "The Wargame" by Charles Grant. "Charge!" does a very good job of portraying elite light infantry such as the Rifles, however I am looking at fielding some rather less stellar types.

Also to add to the fantasy feel of the thing I have instituted saving throws. 6 for an elf, 5 or 6 for a dwarf to be removed as a casualty. Casualties before saves are counted for melee resolution and prisoner counts.

To play the game on my 4 foot wide table I have taken all of the game measurements and reduced them by 25%. The same goes for the units. Rather than "companies" of 16  rank and file, mine have 12.

Finally, the dwarves, stout things that they are have a max move on foot equal to that of a battalion in line, while all elves and the dwarven cavalry use the standard game measurements.


With all of that out of the way, how went the day?

As the dwarves I was in a bit of a pickle. I diced for the order of my reinforcements before play with the idea that couriers would come and go to keep the current field commander up to date on relief. The elves receive their reinforcements as the result of a dice roll at the start of each turn.

The game started with only light forces on the  table. One battalion of dwarven jaegers start in the hedge lined field. The second unit of its Freikorps was marching up the road to the assembly point at start.The mounted element of Freikorps von Roten Bart, a regiment of Hussars.

I knew that a unit of heavy cavalry would arrive soonish up the main road. After that a regiment of infantry would appear on my right. Then there would be a bit of a lull before my second infantry regiment and my guns came up.

Hopefully the elven reinforcements would be similarly spaced out. At the start of each turn I rolled to see if any enemy troops arrived that turn.

The action started with the eleven light infantry advancing on the fields while their hussars made straight for my reinforcing jaegers. Dwarven movement being slow as it was meant there was a good chance of the lads being caught out in the open.

My hussars moved to threaten the eleven lights who had remained in close order due to the threat.

The elven hussars, The Hussars de Juenes, made to run down the jaegers in the open. Luckily the Bayrum and Anthill Dragoons arrived in the proverbial nick of time.

Margraff Frederick von Bayrum sent his squadrons in, two up and one back and toppled the Hussars.


The Hussars de Juenes lost their colonel and four troopers in the melee with an additional two being captured in the confusion of their retreat.

In the center the first elven line infantry regiment arrived behind the light troops and began to deploy.


With such a strong force of infantry before him, Von Roten Bart pulled his hussars back just out of musket range to await developments.

A bit of a lull ensued with the Hussars de Juenes retiring and the Bayrum and Anthill Dragoons reforming in the center.

Saved from the thread of enemy horse, the second jaeger battalion once again advanced to support the first.

It was at this point that the Elven heavy cavalry arrived on the field.


My first infantry regiment arrived on my right leaving me in the odd situation of having my cavalry in the center and infantry on both flanks.


The Zwergteufel Regiment arrives.


Roten Bart withdraws his Hussars to form a reserve.


Markgraf Frederick reforms his dragoons. Note the elven prisoners being led into captivity.


The hedge field is beginning to look like Fort Apache.


The elven line makes for the stone field while the Hussars de Juenes reform.


The elven heavy cavalry takes up position opposite my right.

Oh...and the elven gun have just arrived on my left.

And that is the state of play after four turns.

More to come.

Hope you enjoyed it and thanks for stopping by!

Bob
UPDATE:


I've been humbugged!

The second elven line regiment has appeared on my left. A strong column of infantry and guns are now advancing. The only unit directly opposing them at the moment is battalion of Freikorps jaegers.


Even worse it is no apparent that the elves had no intention of storming the fields. Rather they have set up a double envelopment. Infantry and guns on me left, and heavy cavalry screened by light infantry on me right.


Fortunately my guns have come up and just in the right place, although they face some danger of being overrun.


My second infantry regiment should be appear up the main road soon and so be thrust right in the thick of things.

As can be seen my other infantry regiment is on my far left and well out of the fight due to their fairly slow movement rate. Once those troublesome Tirailleurs get into that wood the Zwergteufels will be in for it.

Perhaps a grand charge against the elven cuirassiers is in order in an effort to buy time?

Monday, August 3, 2015

The Massed Cavalry of Frederick der Kleine

Finishing touches in place and  here they are:

Video


Photos


Apologies for the adds in the video. They are a requirement of the music owner.

Figures from Alternative Armies
Colonels from Elton Waters
Painting by Alternative Armies
Colonels painted by the Author

Hope you enjoyed the show and thanks for stopping by!